
Owning a camper van is something that many people dream about for decades – heading off into the open wilderness and exploring the great outdoors! It really does open the door to a whole new world of possibilities.
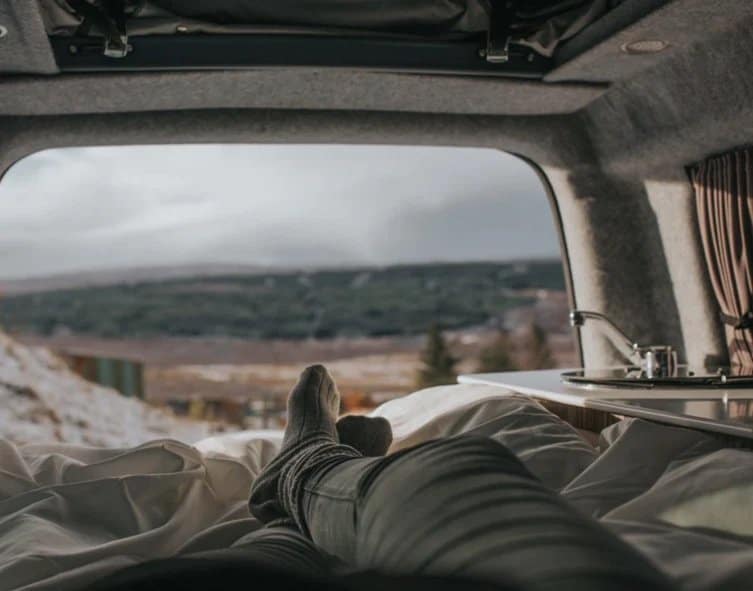
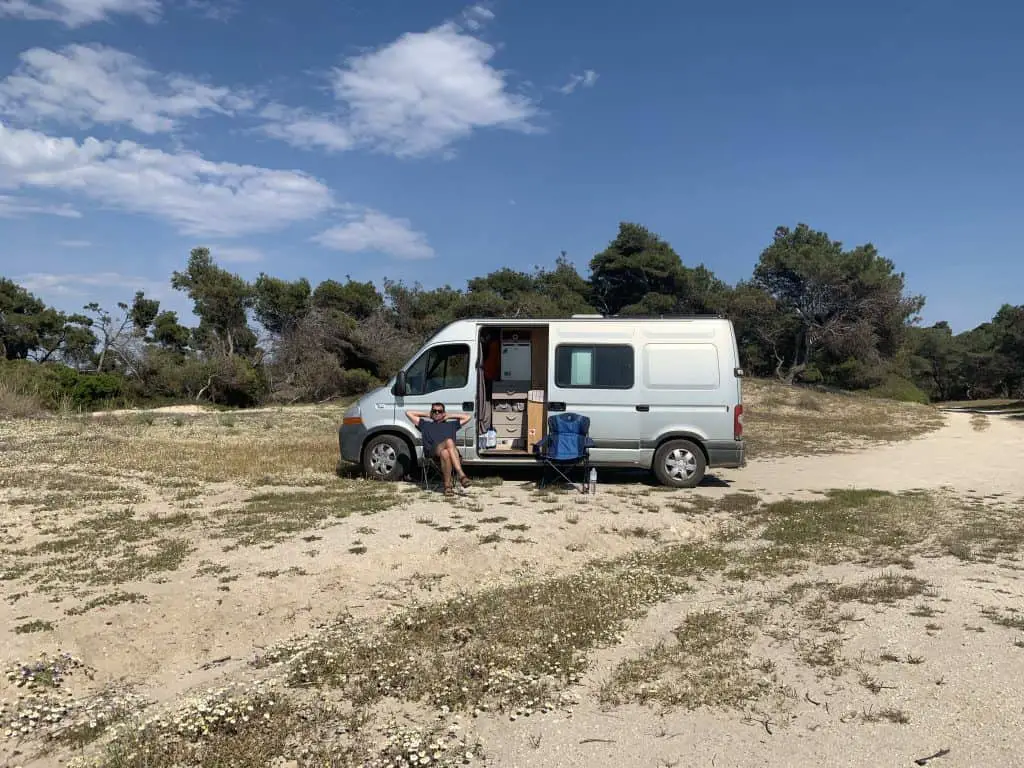
Since buying our partially converted campervan in the spring of 2020 we’ve embarked on several epic adventures. We’ve driven the stunning NC500, taken a ski touring trip around Georgia, explored the ancient sites of eastern Turkey and enjoyed van life in Greece, North Macendonia and Montenegro.
However, before you jump online and start looking for that dream van conversion project there are a few essentials we’d like to share. From years of building overland trucks and working on our own campervan, we can safely say DIY campervan conversion takes a lot of planning, countless considerations, a good level of practical skills and a whole lotta work!
We teamed up with Katie Johnson from Wildworx to bring you this essential camper van conversion guide. Let’s get stuck in!
Disclaimer: Some links in this article are affiliate links, which means that if you purchase through them I receive a small commission, at no extra cost to you. This helps cover the cost of running this blog. Thanks for your support!
Should I Convert a Van into a Camper?
The process of actually getting your hands on a camper can be fairly stressful, whilst the process of converting your own camper is a huge amount of work.
There are literally thousands of big and small decisions that need to be made before you’re ready to head out onto the open road. There are three ways to become the owner of a campervan and it’s best to carefully decide which option is right for you:
-
Buy a pre-made converted van (either second hand or brand new)
-
Give the job to a professional campervan conversion company
-
“Do It Yourself” DIY self-build conversion
How to Convert a Campervan
1. PROFESSIONAL CAMPERVAN CONVERSIONS
Professional conversions are a good option if you don’t fancy taking on the build yourself or perhaps don’t have the skills or time to do so. You get some flexibility with your build process. You’re able to purchase your base vehicle and take it to a converter, which can often save money vs buying a ready made campervan. Professional campervan conversions can range anywhere from £10,000 to £40,000 for the conversion (not including the vehicle itself).
Some conversion companies will build you any layout you want. Others will have standard layouts. But you do get to choose some options, for example furniture colours, appliances and upholstery fabrics. The build will usually take 4 to 6 weeks. Lead times vary depending on the company. Most work around 3 to 4 months in advance, usually longer in the summer months.
2. DIY CAMPERVAN CONVERSIONS
DIY campervan conversions are a great budget friendly option. You’re able to buy all the parts and accessories online and convert the vehicle yourself. If you have a VW van, Wildworx has some fantastic VW campervan accessories and conversion parts to help with your build.
Nick was a welder/fabricator and has built several overland vehicles over the years so converting our campervan came easy to him. However, these days there are thousands of videos online showing you every detail of how to build a campervan from start to finish. This is great for someone who has a reasonable ability with tools, some extra time and space to work on the van. Inside space would be ideal, so you can work in the winter or late at night.
PROS AND CONS OF SELF BUILD VS PROFESSIONAL BUILD
There are pros and cons of building your own camper or going to a conversion company. Buying a campervan that is already built means you don’t get to choose your options and it can also be much more expensive. However there will be no late nights in your garage building your own van, or long lead times waiting on a van from a professional conversion company.
- Self-builds can be much cheaper than using a conversion company
- Professional conversions often don’t have much flexibility in the build
- Buying a pre-converted van is often the quickest way to get a camper
- Using a company can mean your camper is safer
- You get a warranty from professional converters
How To Turn a Van into a Camper: Important Factors to Consider
If you decide to take the plunge and convert your own camper, it’s vital to understand the steps involved and follow them in a logical order. It’s important you understand what goes into a campervan conversion build process to ensure you end up with the perfect van for your needs.
The different options that make up a campervan can be pretty overwhelming, so here’s a list of the key elements that you will need to decide on before you start your build:
- Budget
- Your base vehicle (Size, type, make) and layout
- Windows and ventilation
- Electric system (inverters, plugs, 12v, leisure battery etc) and solar setup
- Carpeting, insulation and soundproofing
- Floor (vinyl or wood)
- Gas tanks (underslung or gas boxes in the van)
- Cooking facilities (gas hob, microwave, grill)
- Water system (underslung tanks or containers, sinks, showers, hot water)
- Fridge and Freezer (compressor fridge or 12v coolbox)
- Heating (diesel heating or burners)
- Pop top roof (manufacturer, canvas colour)
- Beds and seats (Rock and roll, RIB or Reimo)
- Toilet
- Furniture layout and storage (what kit are you going to be taking with you eg kayaks or fishing rods)
- Awnings (wind-out, blow up, awning rails)
- External styling (spoilers, splitters, side bars, and alloy wheels)
1. Budget
First and foremost you need to set a budget for your project. This includes the cost of purchasing the van and the cost of converting the van into a campervan. The cost of the van will depend on a whole host of criteria from the make to the model to the age. Conversion costs obviously vary depending on the quality of finish you’re looking for and how much of the work you can safely carry out yourself.
To have everything you need for van life, a van conversion will typically cost around £10,000. If you prefer higher quality items such as lithium batteries and top of the range roof vents then the cost will move closer to £20,000. If you want a van just for the odd weekend and don’t require a fridge or a full solar setup, then a really basic van conversion can come in for £5000-£10,000.
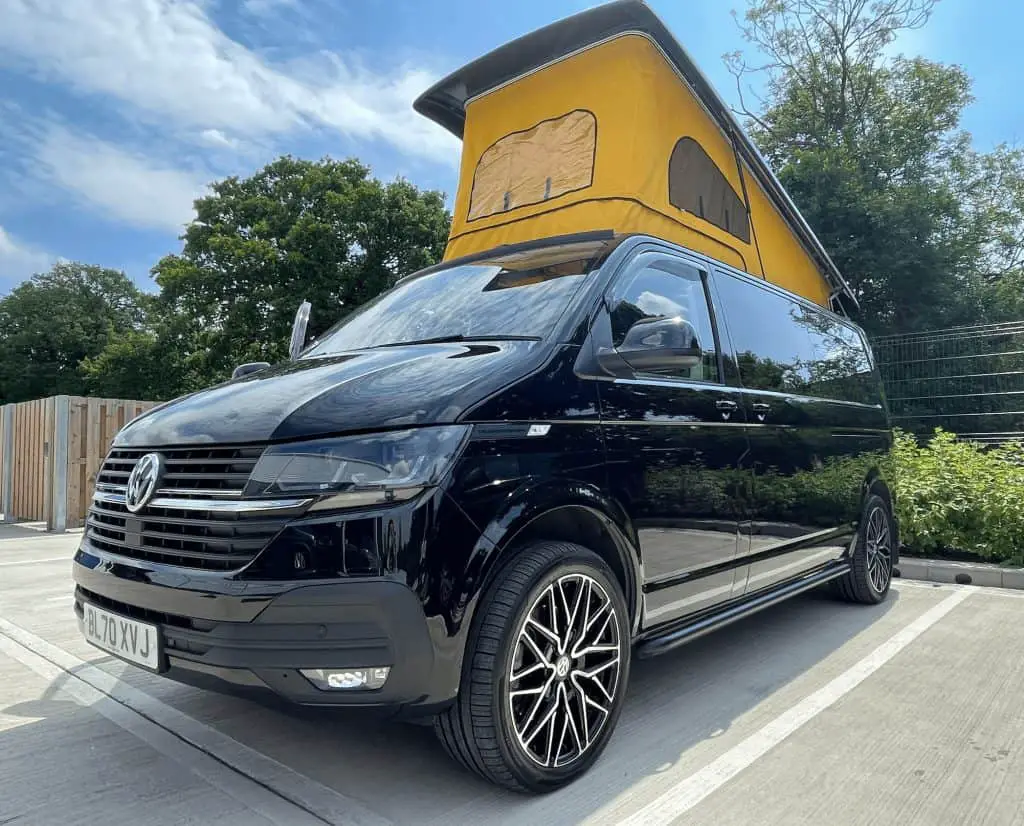
2. The Van & Layout
Choosing the base vehicle will depend on a variety of factors.
- Are you planning to live in the van or is it just for weekends/short holidays?
- How many people will live in the van?
- How long to you plan to own the van for?
- Do you want/need room for a toilet and shower? What layout/plan do you have in mind?
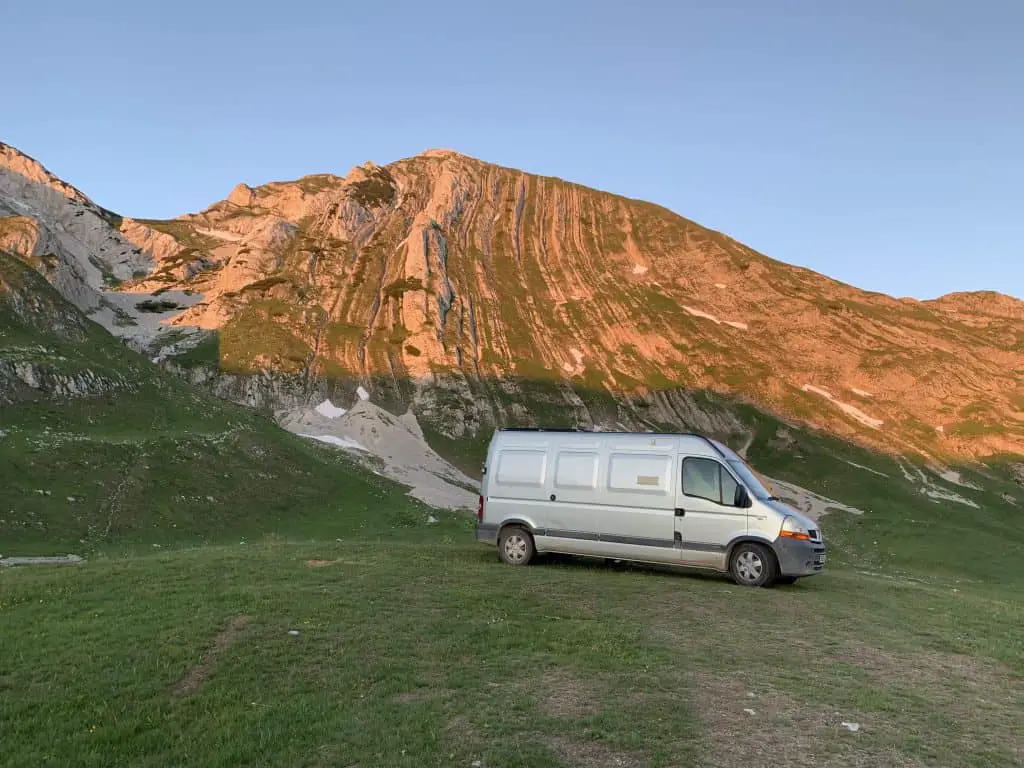
- Budget – consider a part converted van to save on costs and work, (which is what we did with our Renault Master).
When buying a second-hand van you obviously need to check the service history and make sure it’s in good running order. The more miles a vehicle has the cheaper it will be, but this obviously means things are likely to start failing sooner rather than later.
Consider your planned layout and decide what size van you require to make that happen. For example, do you want a shower, do you want a fixed bed, do you need an oven or do you want a wood burner? Imagine yourself living in the van or rent a camper for a week or two and write down all the must-haves when it comes to the layout. This will help you decide what kind of van you need.
For two people planning full-time vanlife, you’ll want a long wheel base van so you have a good amount of space. One person can get away with normal length van. If you’re tall consider vans with enough headroom. If you just need a weekend van that can also be used as run-around vehicle, consider a medium sized van like a Vivaro or a Transporter.
Some things worth noting are that whilst Sprinters and Transits are good solid vans, they are renowned for rusting bodywork as they age. Volkswagens are known for being reliable vehicles however the badge comes with a hefty price-tag. Also, check insurance prices with a variety of brokers before your purchase as this might influence your choice.
Take your time with this vital step but be prepared to snap one up as soon as the right one comes on the market.
3. Windows and Ventilation
The next step in your van conversion is to start cutting holes in the van for windows and roof vents. There is an abundance of videos about how to do this online so do your research and make sure you get your hole cutting done right as this can’t be undone!
Camervans can feel very dark and enclosed without adequate windows and natural light. Windows can be a costly addition but the additional light will be worth it. Also, don’t forget to consider your vans ventilation. Cooking (and simply breathing) in your van will produce condensation which can lead to damp, rust and mould. These should be avoided at all costs and can be dealt with through the addition of roof vents.
Windows and vents will also be key in helping keep your van cool in the hot summer months. If you do plan on spending a lot of time in hot places consider windows with a tint and quality roof vents with fans.
After the outer-work is done you should then lay the framework inside your van. Be sure to have a good plan to work off to avoid any mistakes.
4. Electric Systems
Before you start insulating your van make sure you get all the electrical wiring sorted first. This can be a huge task to get your head around so consider bringing in an electrician for help. Again, be sure about what your electrical needs are and therefore what systems you’ll need in place.
When thinking about your electrics you’ll need to consider the following:
Leisure Batteries
- What size do you need?
- What type can you afford – lithium, AGM, GEL
- How many do you need?
To learn more about choosing a leisure battery for your campervan, take a look at this guide.
Power Inverters
You also might want to consider installing an inverter, which will give you access to 240v electricity. This will mean you can power your laptops or hairdryers (items with a UK plug socket) off your leisure battery system. Without an inverter you can only power 12v (items with a USB charger)
Some factors to consider are:
- Do you need an inverter?
- What size do you need?
- What type is best?
I answer all of these questions and more in this guide to campervan power inverters.
Solar Panels
Solar panels are a great way of making your van truly off-grid. Solar panel benefits include.
-
Reduce emissions
-
Live off-grid in your campervan
-
Silent and clean power
-
Reduce your use of fossil fuels
There are two main types of solar panel that you would use for your campervan; fixed (flexible or rigid) or portable. The fixed solar panel is permanently installed to the roof of your van, and wired into your leisure battery system.
A portable solar panel is a piece of kit the size of a small bag that you can take in and out of your van. For a full off-grid experience you might find you want to use both the flexible and portable solar panel. A full, fixed solar panel kit will usually include:
- 180W semi-flexible solar panel
- 20A high efficiency MPPT solar charge controller with inbuilt LCD display
- Single core extension cables with MC4 connectors
- Dual-core battery cable fitted with a fuse holder
- 15A fuse
- 8mm ring terminals
Possibly the most important part of the permanent solar panel kit, is the solar charge controller. In layman’s terms the solar charge controller links your solar panel to your leisure battery, which is where you will store your electricity for later use. If you purchase a kit, make sure it includes a quality MPPT controller.
Read everything you need to know about choosing a solar panel in this guide!
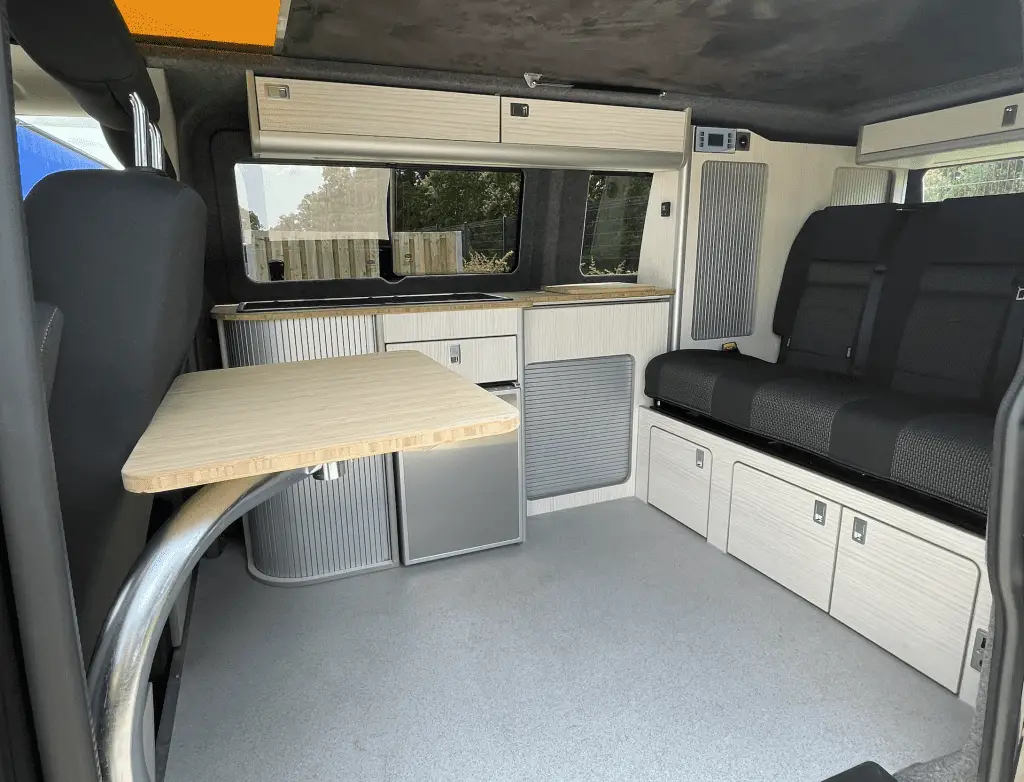
5. Insulation and Flooring
Having good insulation is vital to keeping your van warm when it’s cold and cool when it’s hot. Some van converters use insulation boards whilst others use loft insulation stuffed between sectioned panels on the van. Awkward spots can be filled with spray foam insulation. Clad your walls in wood or use carpet which is lighter but harder to keep clean.
For the flooring, most van conversions use Celotex insulation boards, then it’s personal preference whether to use plywood and vinyl or wood flooring which can be picked up from any DIY store. You might want to investigate the relevant weights before making a decision here.
Along with a good heating system, good insulation and flooring is vital for enduring winter van life.
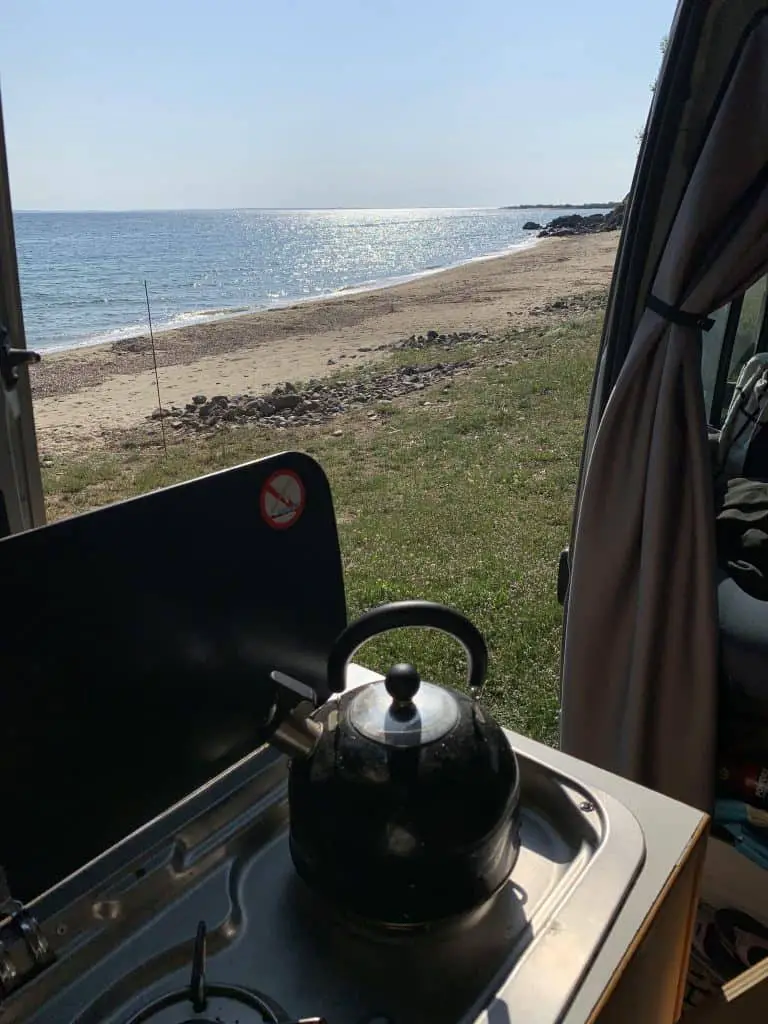
6. Kitchen and Gas Tanks
Moving onto the kitchen, you need to decide if a basic two-hob setup is enough or if an oven is required. This will likely come down to how much time you will spend in the van. These can be picked up in all shapes and sizes from dedicated campervan/motorhome suppliers.
The gas setup can again be quite simple in the form of portable gas bottles kept underneath the cooker, to LPG gas tanks that can be refilled at fuel stations. LPG tanks can be underslung, meaning they don’t take up precious space inside the van and are very easy to fill in most countries. However, they are expensive to install.
Gas bottles adapters can vary from country to country which can be a pain, as can finding a place to refill/exchange your bottles. Refilling LPG is also much cheaper than refilling propane.

7. Water System
Water systems can get quite complicated depending on your needs. Without a shower, things can be kept simple and water tanks can remain small. We have a shower and therefore have two 50litre water tanks (one hot, one cold). Carrying a lot of water adds to the campervans overall weight so this needs to be factored in.
You also need to decide how you will collect your wastewater. Many vanlifers opt for water tanks which are underslung, meaning they are outside the van.This is how motorhomes operate. We however, have two water containers which we place under the camper, beneath the sink and/or shower when required. These can be a pain to transport if you don’t have adequate storage but are easy to empty.

- 23 litre caravan/motorhome water or waste carrier
- Can lie upright or on its side under your vehicle
- Aperture has 50mm opening for quick filling or emptying
- Weighs in at just under 1 kg
- (L)380 x (W)330 x (H)420 mm
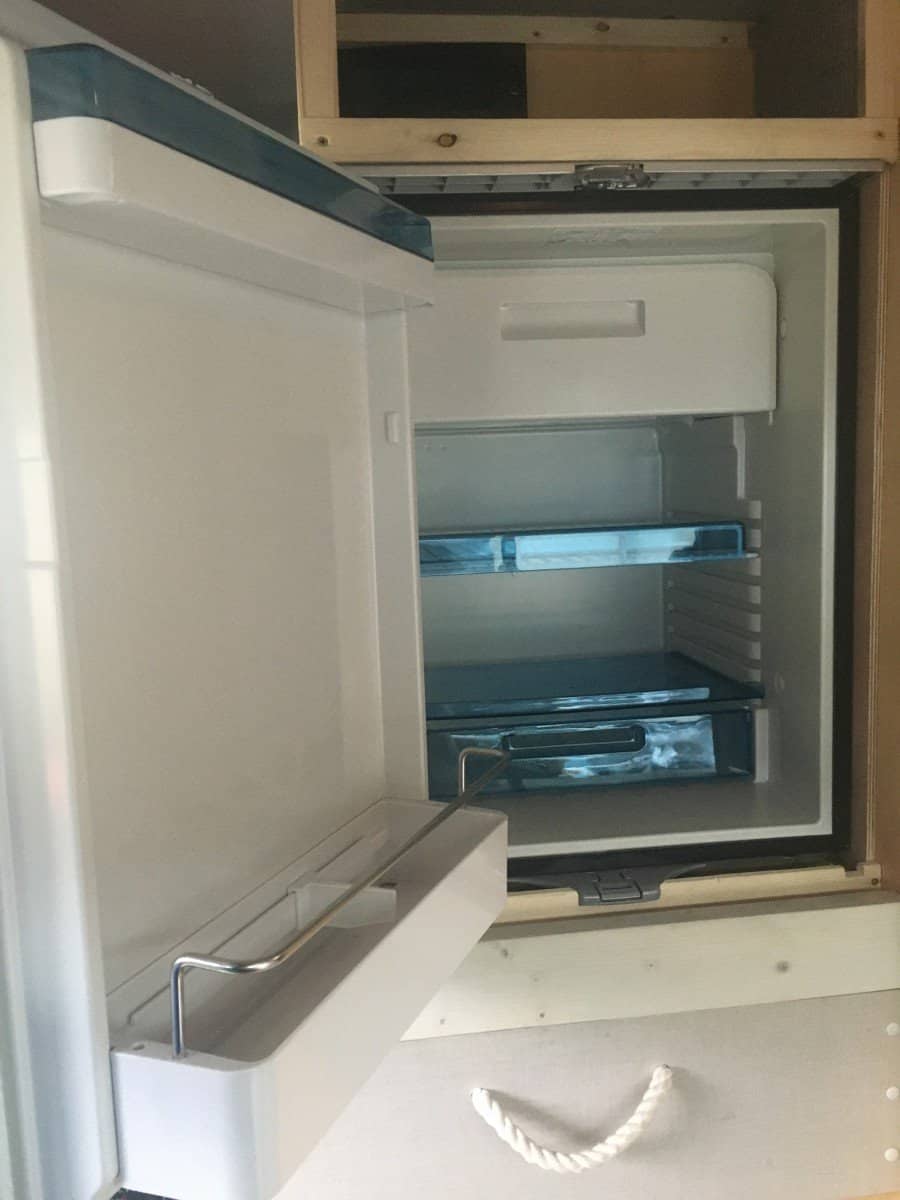
8. Fridge/Freezer
How often you plan to use your campervan will influence what type of fridge to install. Those only using vans for holidays and weekends may opt for portable 12v coolboxes that can plug into cigarette lighter sockets. Full time van lifers will need something more permanent.
The style of fridge you choose will depend on the layout of your van. This will dictate whether a top-loading fridge works best or if a front opening fridge works better.
You will also have decide how you want your fridge to be powered. Compression fridges are the best choice for full-time van lifers as they can run efficiently off the solar panels/leisure battery system. Motorhomes that will use hook-ups may consider 2-way fridges that can run off gas or electricity.
We have a font-loading compressor fridge from Dometic. Click here to read why we picked this fridge and learn what will be the best choice for you.

9. Heating Systems
There are several ways to heat your campervan. Wood burners look great and give that cosy feel but they are high maintenance and come with huge safety implications. Electric heaters are easy to use but do require electrical power which can be a big drain on a solar powered van. They are ideal if you plan to use electrical hook ups.
A popular heating solution for van lifers are diesel heaters. Installing a diesel heating system means you will get to squeeze a few extra months of usage from your camper every year. The main suppliers to choose from are:
- Webasto
- Eberspacher
- Off-brand manufacturers
You need to ensure you fully research the safety elements behind your heating system. Some of the aftermarket heaters don’t undergo the rigorous testing that is required for such a dangerous bit of kit. Whatever you choose to install you need to ensure you fit a carbon monoxide detector.
The key elements of your heater install are:
- Find the right location to mount your heater – consider the noise level and where the heat needs to be directed
- To prevent build up, mount the air intake in the direction of travel
- Ensure your jubilee clips are of a good standard
- Secure your exhaust and air intake under the van
- Run multiple tests before you plan to use it for the first time camping

10. Pop-top Roofs
If you opt for a medium sized van, the pop-top roof will often the most expensive part of your build. There are around 50 different companies in the UK that manufacture pop-top roofs. Choosing the roof brand can be tricky. Going to campervan shows (the NEC show in February and March is the biggest in the UK) is a great way of having a shot with lots of different types of roof. Things to look out for:
- How easily does the roof open and close
- What is the canvas made out of
- Does the canvas come in lots of different colours
- Does the canvas have panoramic opening
- Does the roof come with a bed platform
- How is the roof secured down
- What does the roof look like when pulled down
- Does it change the profile of the van itself
- Is it TUV tested and is it crash tested
- Lead time (usually anywhere from 3 weeks to 6 months)
- Are you fitting it yourself or will you be using a converter
- What warranty is included with the roof
- Does the roof come colour coded to your van colour
- Does someone local to you offer fitting – important for warranty and any problems that might come up
Obviously one of the deciding factors for a pop top roof is cost. Pop top roofs can range between £2,000 and £7,000 including fitting. It’s important to find the right manufacturer. If you’re thinking of fitting the roof yourself, keep in mind it’s a pretty big job that needs at least 2 people with good skills. Cutting the roof off your panel van isn’t for the faint of heart – it’s doable, but please make sure you do plenty of research before you start!
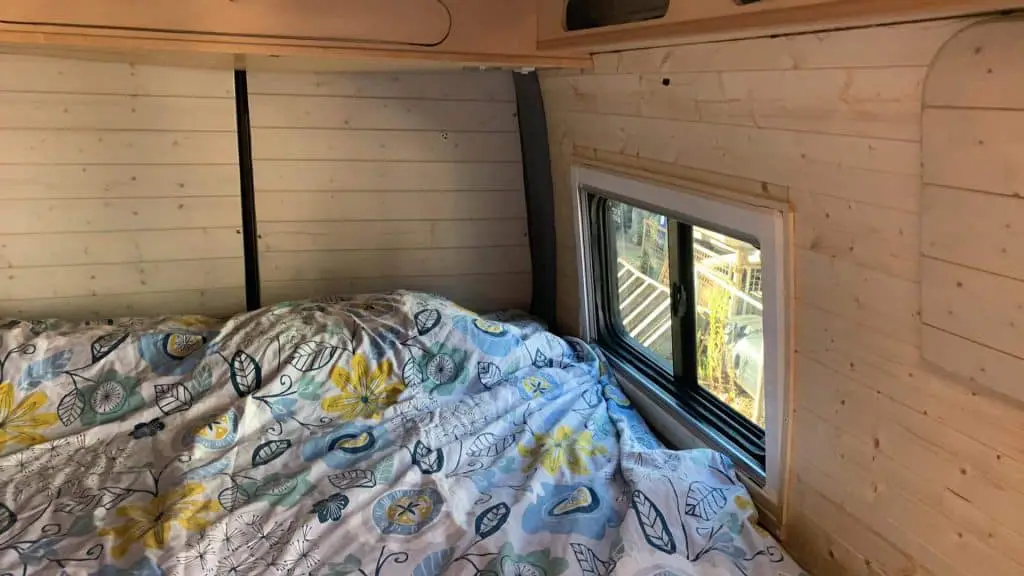
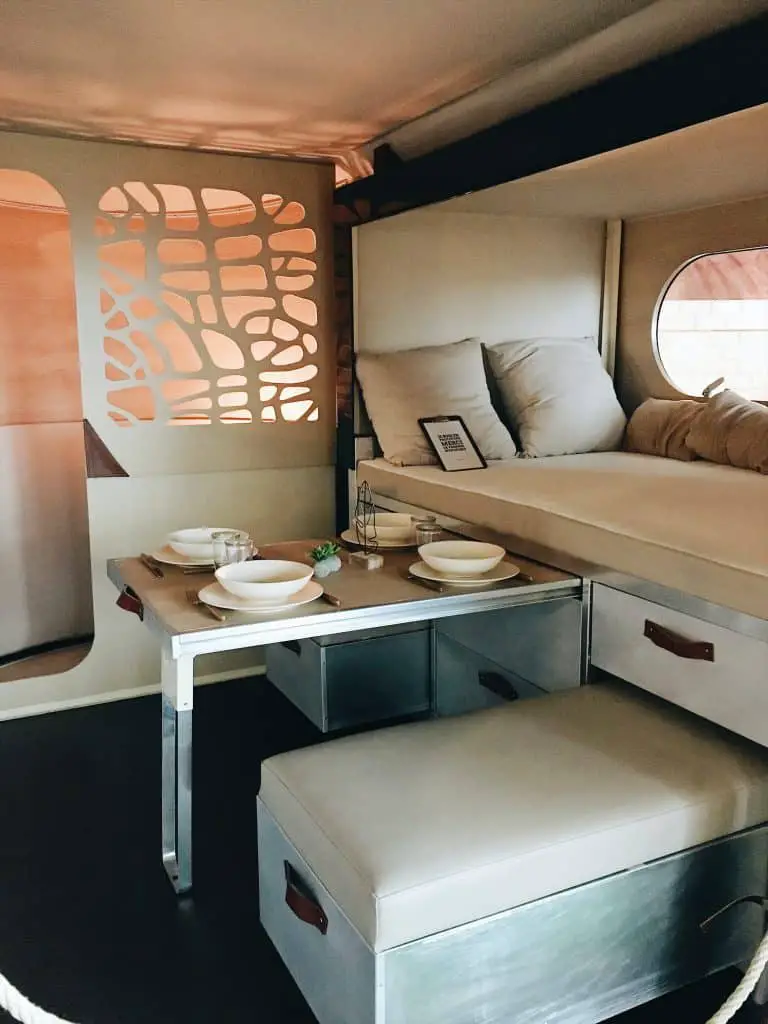
11. Beds & Seats
Considerations here are whether you want a permanent bed or are happy to pack the bed away every day. Rock and roll beds are popular in medium sized vans as a permanent bed isn’t a feasible option. Other great options for utilising limited seating areas is to buy captain chairs, where the seats in the cab swivel around to face the back.
Since Nick is quite tall, having a permanent bed across the van isn’t an option for us so we have a bed that converts into a seating area. This is also what provides enough space for our water tanks and large “garage” storage area.
Most campervans are converted with the aim of only carrying two people whilst driving. If you want to carry more than two people then you need to ensure all passenger carrying seats meet the relevant safety requirements.
12. Toilet
For me personally, a toilet and shower was a must, but that’s not the case for everyone. As a result, we have a dedicated bathroom which I love but it does take up a lot of space in the van.
Many van lifers opt not to have a bathroom and instead have a portable toilet that slides underneath a seat or cupboard. If you share the van with your partner I’d suggest you’d need to be pretty comfortable with each other for this latter option to work!
Other things to consider with a toilet are whether to use a more environmentally friendly compostable toilet or an easier to manage chemical toilet. We found toilet chemical difficult to come by on our van life adventures outside of Europe. (Turkey, Georgia)

- Top-of-the-line portable, flushable toilet, split into two sections, a top bowl with flushing action and a bottom tank for holding waste
- Height 41.3 cm, width 38.3 cm, depth 42.7 cm, tank capacity 21 litres, weight 4.1 kg, max user weight 120 kg (19 st)
- Light to carry, convenient to store, easy to empty, with integrated cover-lock and pour-out spout

- 【Camping Toilets Portable】Made of ABS plastic, sturdy, weighs 1.8kg and is quite light compared to other products. I really liked the folded format – 32.5 x27.5 x 6.5 cm – easy to unfold and set…
- 【Wide Range of Applications】It is not only a foldable outdoor potty, but also a storage and seating combination, trash can, small stool, fishing rod, storage box, Portable Toilets for the elderly,…
- 【Keep Clean and Safe】Put 12pcs toilet spare bags, so you don’t have to clean up mess after using spare bags, solve all your troubles perfectly. It also works great in the rear of the SUV. We…

- 【Portable Toilet】Dartmoor’s portable camping toilet features a full-sized seat and lid for comfortable use by children and adults up to 23 stone and 9 pounds (150 kg or 330 lb.), giving you a…
- 【High Capacity】This lightweight portable toilet offers a 13 litre freshwater holding tank powered by a built-in air pressure pump to give you over 50 flushes between refills
- 【Easy Cleanup】The 10 litre waste tank locks up securely and detaches from the rest of this campervan toilet easily for convenient emptying and clean-up
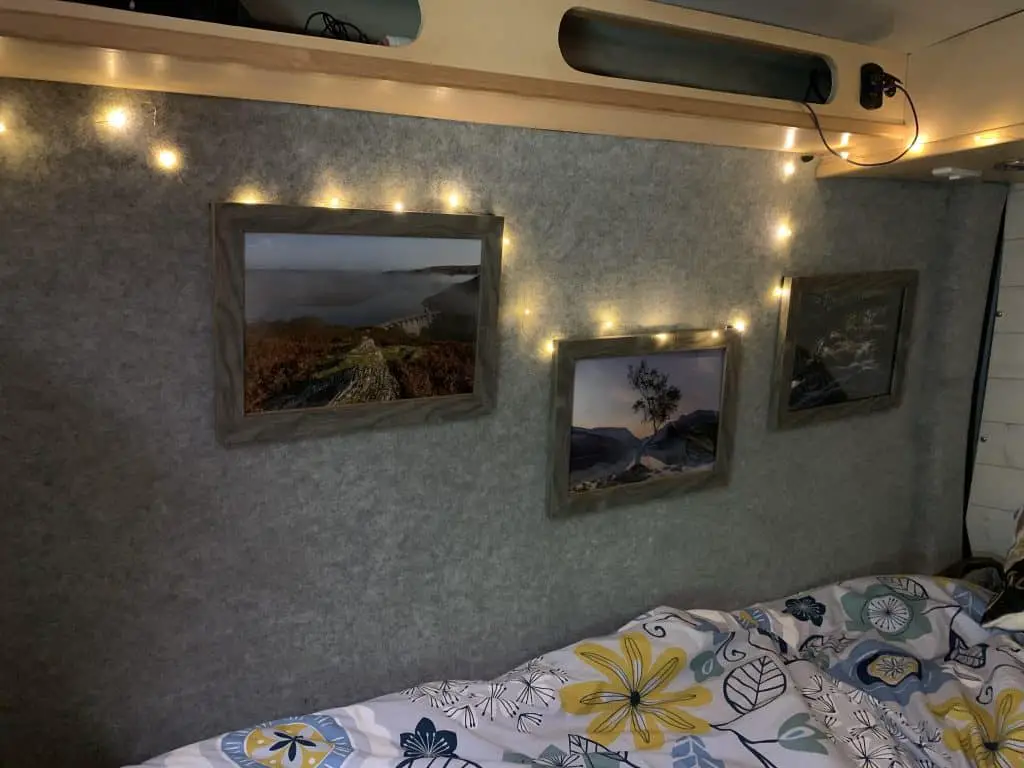
13. Furniture and Storage
Storage requirements should have been accounted for early on in the planning stage. For example, our campervan has huge amounts of “garage” storage under our bed/seats, so we have ample room for our inflatable kayak and skis/snowboards. But not everyone needs this amount of storage. You may just need enough for clothing and food and there are all manner of ways this can be done.
Finally, when it comes to furniture it’s time to add your personal flare and decorate your tiny home on wheels as you see fit. Make your van feel homely with these great campervan accessories.
Read Next
14. Awnings
Awnings are a great addition to your campervan setup as they can effectively double the amount of usable space. Campervan awning rails are cheap and can be fitted to the outside of your van. Awnings can range from expensive, fully enclosed tents to simple extendable canopies.
If you plan to use the campervan mostly at campsites I would recommend a tent style but if plan on mostly wild camping I’d suggest the canopy.
Campervan Safety
Whether you’re converting your own van or using a professional conversion company, it’s really important to think about your safety. You and your family will be spending long hours in your camper, whether you’re driving or asleep. You need to make sure that all the parts you use are fully compliant. Look out for the TUV accreditation, this means the item has been fully tested. This is particularly important for your pop top roof and diesel heating system.
Make sure you use reputable manufacturers for your bed system. Your rear seat and bed should always be bolted to the chassis. There are lots of rock and roll bed systems out there, where the bed is only held down with a few screws. This just isn’t going to cut it in a car accident. If you have young children make sure your seat/bed system has ISOFIX for their car seats.
You really need to make sure you have a Carbon Monoxide detector in your van. This will sound if there are any leaks in your gas system or problems with your diesel heater.
Camper Van Conversion Guide – Final Thoughts
Whether you’re building your own camper or going for a professional conversion, it’s a really exciting time. Make sure you understand what you’re wanting to use your camper for and you’ve nailed your budget down before you start. If you’re prepared to look around, there are some really fantastic budget friendly options out there.
Just make sure your goal isn’t only about driving off on your first adventure. Converting a van into a camper takes a lot of hard work and energy so it needs to be about enjoying the campervan conversion process along the way!
